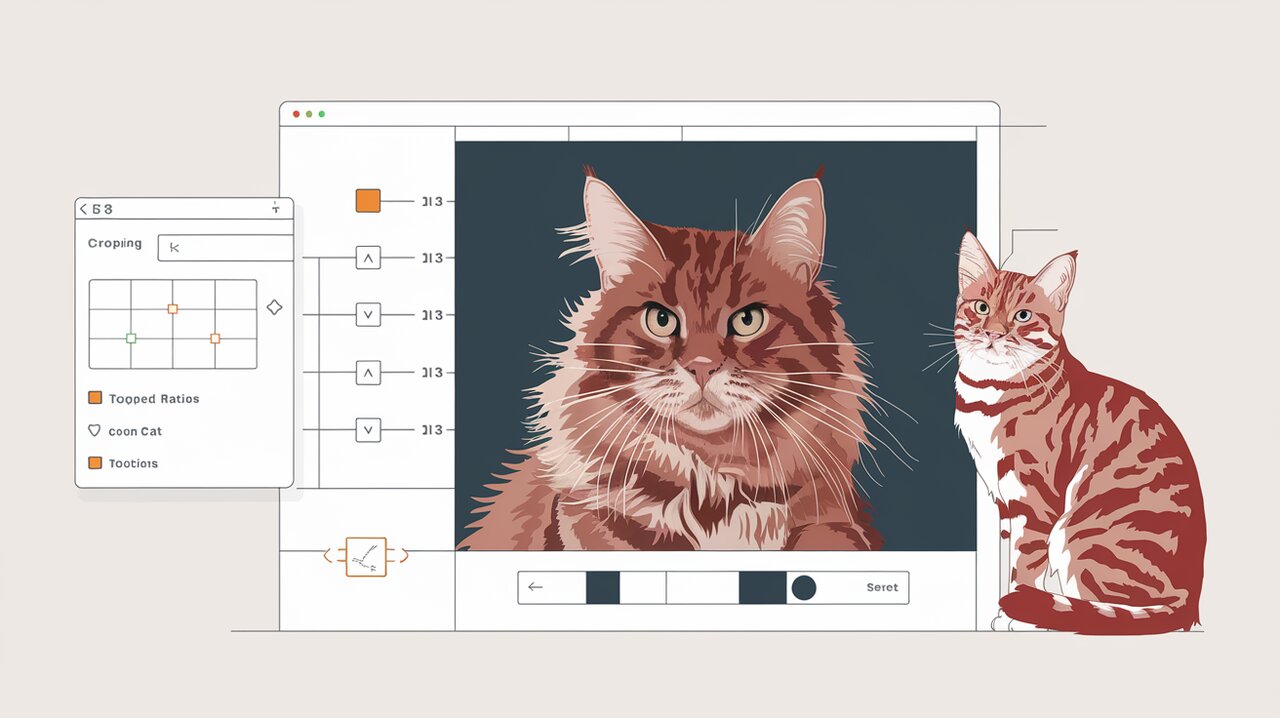
Crop and Conquer: Mastering Image Manipulation with React-Cropper
React Cropper is a powerful React component that wraps the popular Cropper.js library, providing a seamless way to integrate image cropping functionality into your React applications. Whether you’re building a photo editing app, a profile picture uploader, or any interface that requires image manipulation, react-cropper offers a robust solution with a React-friendly API.
Features
React Cropper comes packed with a variety of features that make it a versatile choice for developers:
- Responsive Design: Automatically adjusts to container size and window resizing.
- Touch Support: Works seamlessly on touch devices for mobile-friendly applications.
- Aspect Ratio Control: Allows setting and locking of specific aspect ratios for consistent cropping.
- Zoom and Rotate: Provides options to zoom in/out and rotate the image for precise adjustments.
- Multiple Output Formats: Supports various output formats including base64, Blob, and raw pixel data.
- Customizable UI: Offers extensive options to customize the appearance and behavior of the cropper.
Installation
To get started with react-cropper, you’ll need to install the package and its peer dependency, Cropper.js. You can do this using npm or yarn:
npm install --save react-cropper cropperjs
or
yarn add react-cropper cropperjs
After installation, you’ll need to import the Cropper.js CSS file in your project. You can do this by adding the following import statement in your main CSS file or in the component where you’re using react-cropper:
import 'cropperjs/dist/cropper.css';
Basic Usage
Let’s dive into a basic example of how to use react-cropper in your React application:
Simple Cropper Component
import React, { useRef } from 'react';
import Cropper from 'react-cropper';
import 'cropperjs/dist/cropper.css';

const SimpleCropper: React.FC = () => {
  const cropperRef = useRef<Cropper>(null);

  const handleCrop = () => {
    if (typeof cropperRef.current?.cropper !== "undefined") {
      console.log(cropperRef.current?.cropper.getCroppedCanvas().toDataURL());
    }
  };

  return (
    <div>
      <Cropper
        ref={cropperRef}
        src="https://raw.githubusercontent.com/roadmanfong/react-cropper/master/example/img/child.jpg"
        style={{ height: 400, width: '100%' }}
      />
      <button onClick={handleCrop}>Crop</button>
    </div>
  );
};

export default SimpleCropper;
In this example, we create a basic cropper component that loads an image and provides a button to trigger the cropping action. The useRef hook is used to access the Cropper instance, allowing us to call its methods when needed.
The handleCrop function demonstrates how to retrieve the cropped image data as a base64-encoded string. This data can then be sent to a server or used directly in your application.
Advanced Usage
React Cropper offers many advanced features that allow for more complex image manipulation scenarios. Let’s explore some of these capabilities:
Customizing Cropper Options
import React, { useState } from 'react';
import Cropper from 'react-cropper';
import 'cropperjs/dist/cropper.css';

const AdvancedCropper: React.FC = () => {
  const [cropData, setCropData] = useState('#');
  const [cropper, setCropper] = useState<Cropper>();

  const getCropData = () => {
    if (typeof cropper !== "undefined") {
      setCropData(cropper.getCroppedCanvas().toDataURL());
    }
  };

  return (
    <div>
      <Cropper
        style={{ height: 400, width: '100%' }}
        initialAspectRatio={16 / 9}
        aspectRatio={16 / 9}
        preview=".img-preview"
        src="https://raw.githubusercontent.com/roadmanfong/react-cropper/master/example/img/child.jpg"
        viewMode={1}
        guides={true}
        minCropBoxHeight={10}
        minCropBoxWidth={10}
        background={false}
        responsive={true}
        autoCropArea={1}
        checkOrientation={false}
        onInitialized={(instance) => {
          setCropper(instance);
        }}
      />
      <div>
        <div className="box" style={{ width: '50%', float: 'right' }}>
          <h1>Preview</h1>
          <div className="img-preview" style={{ width: '100%', float: 'left', height: '300px' }} />
        </div>
        <div className="box" style={{ width: '50%', float: 'right' }}>
          <h1>Cropped Image</h1>
          <img style={{ width: '100%' }} src={cropData} alt="cropped" />
        </div>
      </div>
      <br style={{ clear: 'both' }} />
      <button style={{ float: 'right' }} onClick={getCropData}>
        Crop Image
      </button>
    </div>
  );
};

export default AdvancedCropper;
This advanced example showcases several key features:
- Setting a fixed aspect ratio (16:9 in this case)
- Providing a live preview of the cropped area
- Customizing the cropper’s appearance and behavior
- Storing the cropper instance in the component’s state for later use
- Displaying the cropped image result
Implementing Zoom and Rotate
import React, { useRef } from 'react';
import Cropper, { ReactCropperElement } from 'react-cropper';
import 'cropperjs/dist/cropper.css';

const ZoomRotateCropper: React.FC = () => {
  const cropperRef = useRef<ReactCropperElement>(null);

  const handleZoomIn = () => {
    if (cropperRef.current) {
      cropperRef.current.cropper.zoom(0.1);
    }
  };

  const handleZoomOut = () => {
    if (cropperRef.current) {
      cropperRef.current.cropper.zoom(-0.1);
    }
  };

  const handleRotateLeft = () => {
    if (cropperRef.current) {
      cropperRef.current.cropper.rotate(-45);
    }
  };

  const handleRotateRight = () => {
    if (cropperRef.current) {
      cropperRef.current.cropper.rotate(45);
    }
  };

  return (
    <div>
      <Cropper
        ref={cropperRef}
        src="https://raw.githubusercontent.com/roadmanfong/react-cropper/master/example/img/child.jpg"
        style={{ height: 400, width: '100%' }}
      />
      <div>
        <button onClick={handleZoomIn}>Zoom In</button>
        <button onClick={handleZoomOut}>Zoom Out</button>
        <button onClick={handleRotateLeft}>Rotate Left</button>
        <button onClick={handleRotateRight}>Rotate Right</button>
      </div>
    </div>
  );
};

export default ZoomRotateCropper;
This example demonstrates how to implement zoom and rotate functionality:
- The
useRefhook is used to access the Cropper instance. - Zoom and rotate methods are called on the Cropper instance when buttons are clicked.
- The zoom method takes a relative value, while the rotate method takes an absolute angle in degrees.
Conclusion
React Cropper provides a powerful and flexible solution for implementing image cropping functionality in React applications. With its rich set of features and customization options, developers can create sophisticated image editing interfaces that cater to a wide range of use cases.
By leveraging the examples and techniques discussed in this article, you can easily integrate react-cropper into your projects and enhance your application’s image manipulation capabilities. Whether you’re building a simple profile picture uploader or a complex photo editing tool, react-cropper offers the tools you need to create a seamless and intuitive user experience.
Remember to explore the official documentation for even more advanced features and options that can further extend the functionality of your image cropping interface. Happy cropping!
